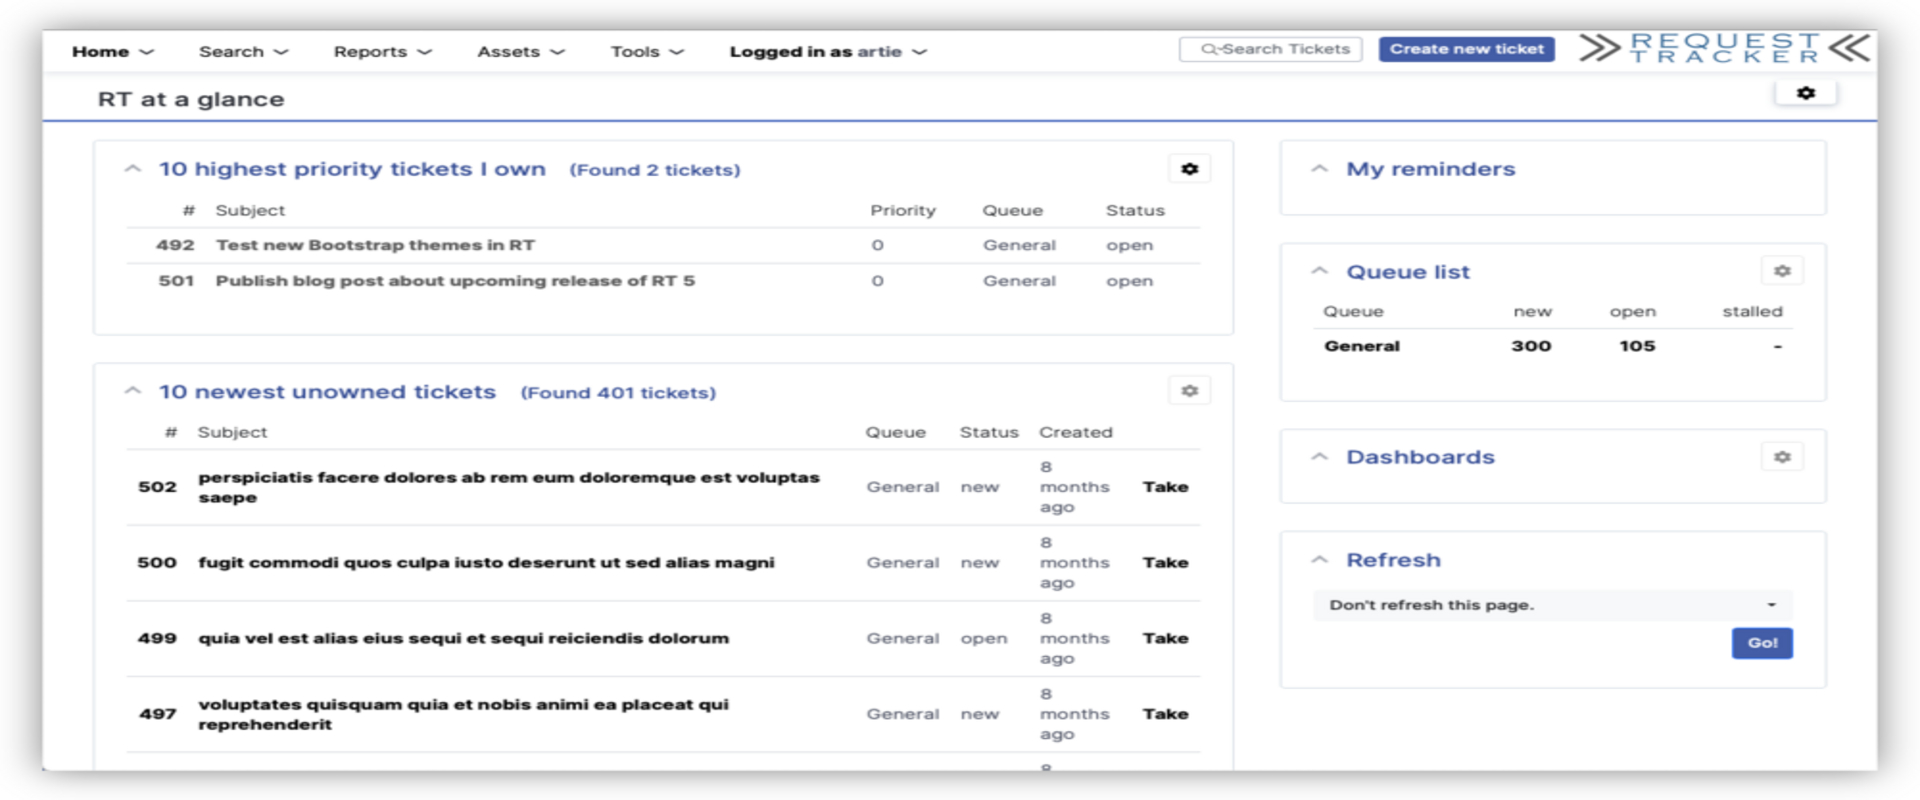
RT5 Installation Part 1 - Dependencies and Database
Request Tracker
RT is an enterprise-grade issue tracking system. It allows organizations to keep track of what needs to get done, who is working on which tasks, what’s already been done, and when tasks were (or weren’t) completed.
Background
I work for Florida Atlantic University and was given a project to upgrade our Request Tracker software. Previously we were running RT 4.4.1 on a CentOS Stream 7 virtual machine. I upgraded us to RT 5.0.4 running on a CentOS Stream 9 VM. Throughout this process documentation on the internet was very slim, therefore I documented all steps I took to provide a guide for others in the future who wish to do a similar install.
For the purposes of this tutorial I will be assuming that you are running CentOS Stream 9, or a similar RHEL distribution.
I will also be splitting the tutorial into three parts:
- Dependencies and Database
- Request Tracker Installation and Configuration
- Web and Mail Server Configuration
Preface
If you are upgrading from an existing installation of RT it is important to backup the existing database properly. This is done by running the following command:
1
2
3
( mysqldump -p --default-character-set=utf8mb4 rt4 --tables sessions --no-data --single-transaction; \
  mysqldump -p --default-character-set=utf8mb4 rt4 --ignore-table=rt4.sessions --single-transaction ) \
    | gzip > rt-`date +%Y%m%d`.sql.gz
Upgrade and Install Dependencies
1
2
3
sudo yum update && upgrade
sudo yum install epel-release
sudo yum install patch tar which gcc gcc-c++ perl-core perl-App-cpanminus graphviz expat-devel gd-devel multiwatch openssl openssl-devel w3m
Being that we are running RT on CentOS, it is important to disable SELINUX for this installation to work
1
2
sudo sed -i~ '/^SELINUX=/ c SELINUX=disabled' /etc/selinux/config
sudo setenforce 0
Install Database
For my installation I went with MySQL, however you can use any other preferred database for this step.
1
2
3
4
wget https://dev.mysql.com/get/mysql57-community-release-el7-11.noarch.rpm
sudo yum localinstall mysql57-community-release-el7-11.noarch.rpm
sudo yum install mysql-community-server --nogpgcheck
sudo yum install --nogpgcheck mysql-community-devel
1
2
3
4
sudo systemctl start mysqld
sudo systemctl enable mysqld
sudo grep 'temporary password' /var/log/mysqld.log
sudo mysql_secure_installation -p
Next we must configure MySQL by editing the my.cnf file.
1
sudo nano /etc/my.cnf
Inside the my.cnf file paste the following:
1
2
3
4
5
6
7
8
9
10
11
12
13
14
15
16
17
18
19
20
21
22
23
24
25
26
27
28
29
30
31
32
33
34
35
[mysqld]
max_allowed_packet =64M
wait_timeout = 6000
innodb_log_file_size = 64M
character-set-server = utf8mb4
#
# Remove leading # and set to the amount of RAM for the most important data
# cache in MySQL. Start at 70% of total RAM for dedicated server, else 10%.
# innodb_buffer_pool_size = 128M
#
# Remove leading # to turn on a very important data integrity option: logging
# changes to the binary log between backups.
# log_bin
#
# Remove leading # to set options mainly useful for reporting servers.
# The server defaults are faster for transactions and fast SELECTs.
# Adjust sizes as needed, experiment to find the optimal values.
# join_buffer_size = 128M
# sort_buffer_size = 2M
# read_rnd_buffer_size = 2M
datadir=/var/lib/mysql
socket=/var/lib/mysql/mysql.sock

# Disabling symbolic-links is recommended to prevent assorted security risks
symbolic-links=0

[client]
default-character-set = utf8mb4

[mysqld_safe]
log-error=/var/log/mysqld.log
pid-file=/var/run/mysqld/mysqld.pid

[mysqldump]
max_allowed_packet = 64M
After editing and saving the my.cnf configuration file you must restart the MySQL server.
1
sudo systemctl restart mysqld
This completes part 1 of the tutorial, in the next section we will install and configure Request Tracker.
