RT5 Installation Part 2 - Request Tracker Installation and Configuration
Request Tracker
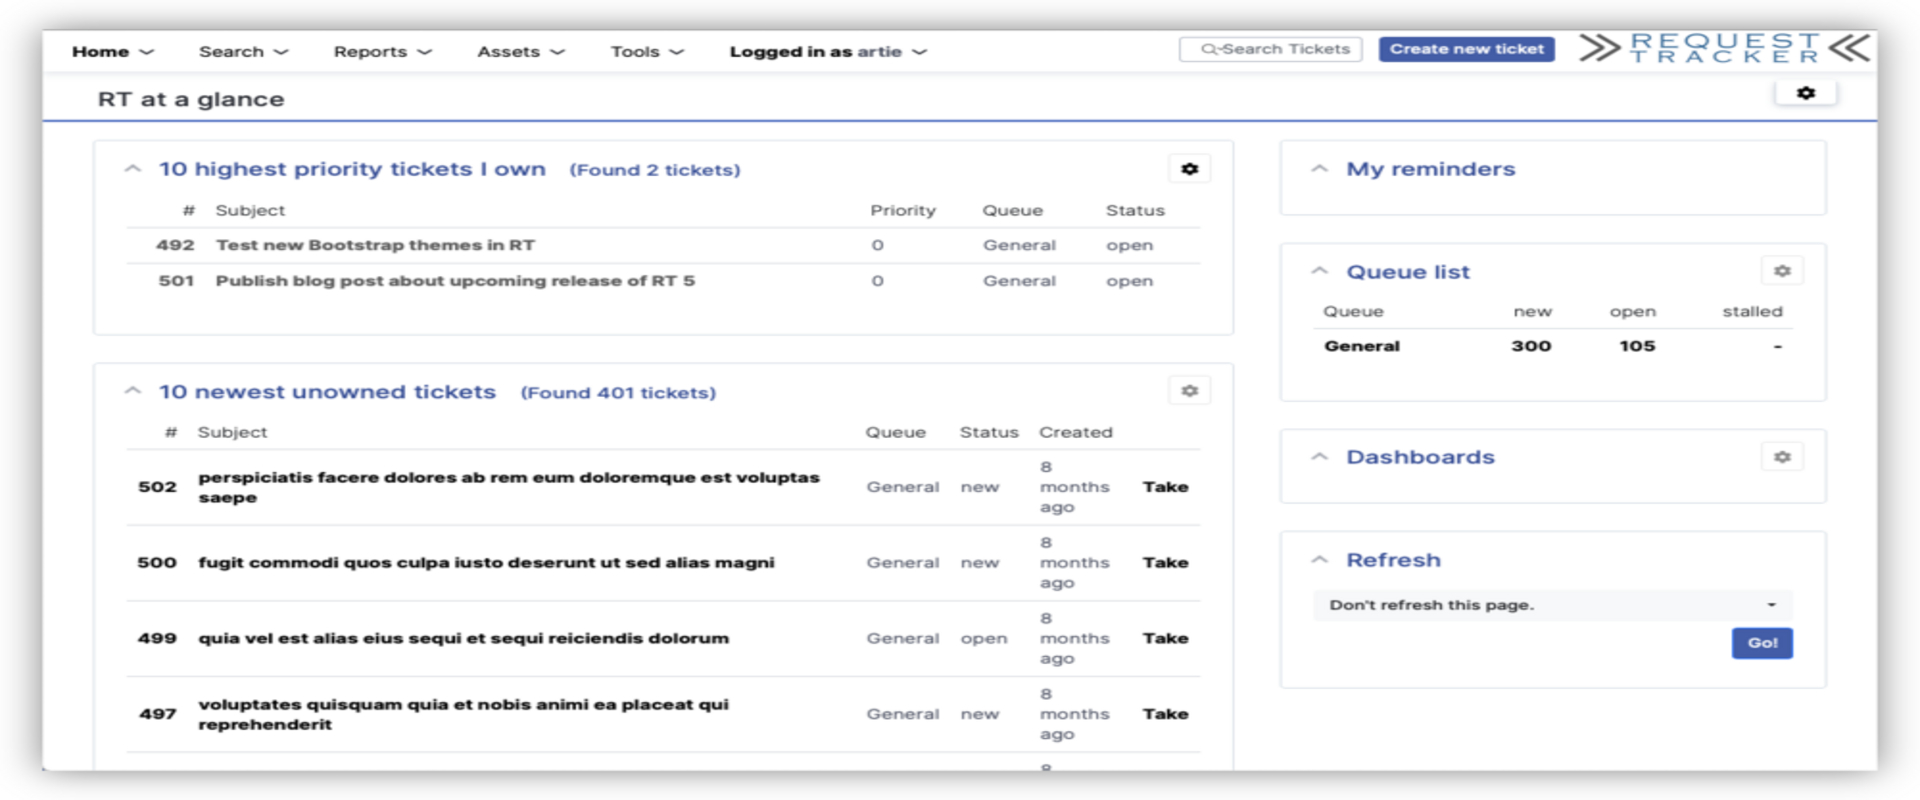
RT is an enterprise-grade issue tracking system. It allows organizations to keep track of what needs to get done, who is working on which tasks, what’s already been done, and when tasks were (or weren’t) completed.
Preface
Previously we learned how to update our OS, install and configure our database, and ensure we have all dependencies needed for the installation of Request Tracker. For my installation I am using CentOS Stream 9, MySQL 5.7 with InnoDB support, Request Tracker 5.0.4, and Apache 2.
After this tutorial we will have a working installation of Request Tracker 5.0.4 with MySQL 5.7 with InnoDB support. In the last step of this tutorial we will install and configure our web and mail server:
1. Dependencies and Database
2.Request Tracker Installation and Configuration
3.Web and Mail Server Configuration
Download and install RT5
First we will download RT 5.0.4.
1
wget https://download.bestpractical.com/pub/rt/release/rt-5.0.4.tar.gz
Next we will extract the archive
1
tar xzvf rt-5.0.4.tar.gz
Now we will traverse to our RT directory and install the base pearl dependencies.
1
2
3
sudo make dirs
make fixdeps RT_FIX_DEPS_CMD="cpanm --sudo"
sudo cpanm DBD::mysql
Now we will test our dependencies and install.
1
2
sudo make testdeps
sudo make install
Create new database, or import old database and upgrade
New Database
Import RT4 database and upgrade
We will install necessary dependencies, create our rt5 database, and import our old database.
1
2
3
4
5
6
7
sudo yum install cifs-utils
mysql -uroot -p

CREATE DATABASE rt5;
quit;

gunzip -c rt-olddatabase-name.sql.gz | mysql -uroot -p rt5
This will take a while to run, after it is finished run these commands to check that it worked:
1
2
3
4
5
6
7
8
9
10
11
12
13
mysql -uroot -p

show databases;
use rt5;
show tables;

SELECT
table_name AS `Table`,
	round(((data_length + index_length) / 1024 / 1024), 2) `Size in MB`
FROM
	information_schema.TABLES
WHERE
	table_schema = "rt5";
Now we will navigate to our rt download and run the database upgrade scripts.
1
2
3
4
cd ~
cd rt-5.0.4
sudo make upgrade
sudo make upgrade-database
After running upgrade-database click space twice, this step will take a while depending on the size of the database you are upgrading.
1
sudo rm -rf /opt/rt5/var/mason_data/obj
Configure RT5
Now we will configure RT5 for our own purposes.
1
sudo nano /opt/rt5/etc/RT_SiteConfig.pm
1
2
sudo cpan install Net::LDAP
sudo /opt/rt5/sbin/rt-setup-fulltext-index --noask
The end of the process will output some RT configuration that looks like this:
1
2
3
4
5
6
7
### EXAMPLE OUTPUT ONLY - Don't use this directly!
		Set( %FullTextSearch,
			Enable     => 1,
			Indexed    => 1,
			# Additional output from rt-setup-fulltext-index should be here.
			# The configuration varies by database type.
            );
Copy the output generated when you run rt-setup-fulltext-index and save it to the file /opt/rt5/etc/RT_SiteConfig.pm
1
2
3
cd ~
cd rt- 5.0.4
sudo make fixperms
This completes part 2 of the tutorial, in the next section we will install and configure our web and mail servers.